

Enabling Payment Updates for Shopify New Accounts
Learn how to update your Subscription Manager to send customers to Shopify's customer accounts interface to update their payments instead of sending an email.
As of December 11, 2024, Shopify has enabled apps to be able to use their new customer accounts. You can learn more about Shopify's customer accounts here. This article discusses how to update your Subscription Manager to send customers to Shopify's customer accounts interface to update their payments instead of sending an email.
Requirements
Determine your current Subscription Manager version to determine which set of instructions to follow.
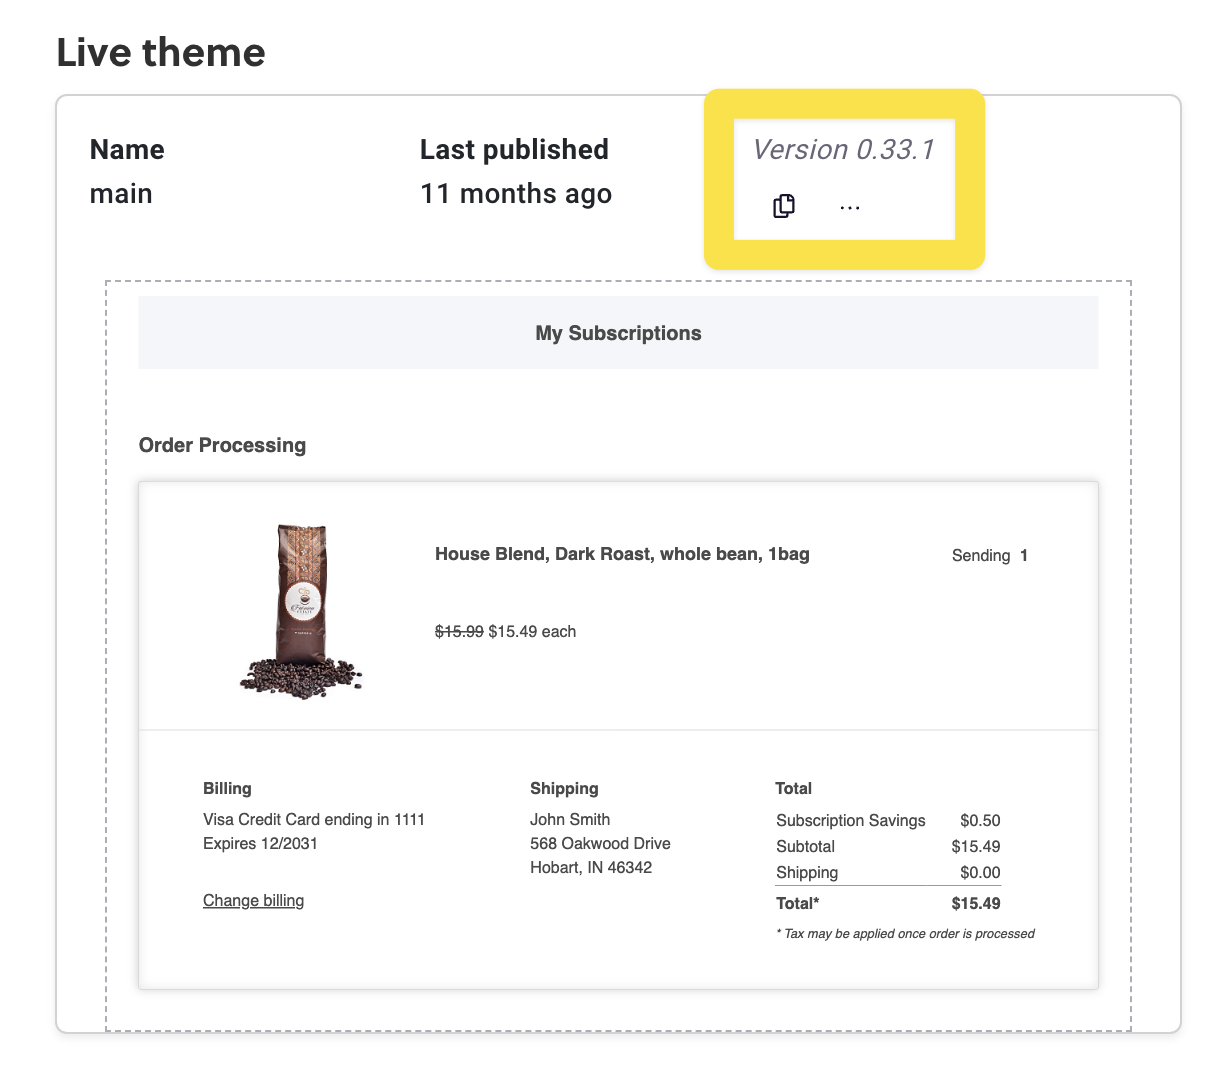
Before the September 2024 release of v25, all Subscription Manager installations were on version 0, displayed in the Theme Designer as version 0.X.X. You can check which version you’re on by going to Ordergroove > Subscription > Subscription Manager.
Current - versions 25.8.0+
We highly recommend upgrading to the latest version of Subscription Manager so that you do not need to make any SM customizations to enable customer payment updates when onboarded to Shopify New Accounts.
If you are on the latest version of the Subscription Manager (25.8.0 or later), payment updates for Shopify New Accounts are supported in the template by default.
Older templates - versions 25.0.0 - 25.7.2
Open up the Subscription Manager page in Ordergroove and find the theme you want to make the changes in. We recommend using a draft theme instead of your live theme so you can preview the changes before publishing to all customers.
If you have only made basic customizations to your theme, you may be able to automatically upgrade via the "Upgrade Version" button in the Theme design. If the button is enabled, click it and follow the instructions to make the necessary changes. Otherwise, follow the instructions below to update your theme code.
In the Theme designer, switch to the Advanced editor tab. Find the order-summary/payment-details.liquid file under "Views". On line 47 you should see something like:
{% elseif 'platform' | setting("shopify") == 'shopify' %}
  {% include 'order-summary/change-billing-shopify' %}
{% endif %}Note: Exact line numbers may be different depending on your template version and the customizations made to your theme.
Replace the code block above with the following:
{% elseif 'platform' | setting("shopify") == 'shopify' %}
  {% if 'shopify_customer_accounts_version' | setting === 'new_customer_accounts' %}
    {% set shop_id = 'shopify_shop_id' | setting %}
    {% set payment_url = "https://shopify.com/" + shop_id + "/account/profile" %}
    <a href="{{ payment_url }}" target="_blank">
        {{ 'shipment_unsent_footer_billing_edit' | t }}
        <svg width="16" height="16">
            <use href="#external-link"></use>
        </svg>
    </a>
  {% else %}
    {% include 'order-summary/change-billing-shopify' %}
  {% endif %}
{% endif %}
Save the changes to the theme. You can use the editor's preview functionality to make sure everything is working properly. When you are ready to go live, publish the theme.
Older templates - versions 0.33.1 and later
Open up the Subscription Manager page in Ordergroove and find the theme you want to make the changes in. We recommend using a draft theme instead of your live theme so you can preview the changes before publishing to all customers.
In the Theme designer, switch to the Advanced editor tab. Find the billing-shipping-details.liquid file under "Views". On line 42 you should see something like:
{% elseif 'platform' | setting('shopify') == 'shopify' %}
  {% include 'change-billing-shopify-only' %}
{% endif %}Note: Exact line numbers may be different depending on your template version and the customizations made to your theme.
Replace the code block above with the following:
{% elseif 'platform' | setting("shopify") == 'shopify' %}
  {% if 'shopify_customer_accounts_version' | setting === 'new_customer_accounts' %}
    {% set shop_id = 'shopify_shop_id' | setting %}
    {% set payment_url = "https://shopify.com/" + shop_id + "/account/profile" %}
    <a class="og-link og-edit-payment" href="{{ payment_url }}" target="_blank">{{ 'shipment_unsent_footer_billing_edit' | t }}</a>
  {% else %}
    {% include 'change-billing-shopify-only' %}
  {% endif %}
{% endif %}
Finally, navigate to the default-theme.less file under "Styles". At the bottom of the file, add the following block to remove the "Send Email" block from the Subscription Manager's view:
// Hide the old SM send email button
#og-send-update-email {
  display: none;
}
Save the changes to the theme. You can use the editor's preview functionality to make sure everything is working properly. When you are ready to go live, publish the theme.
Older templates - versions before 0.33.1
If you are on a template version older than 0.33.1, you can choose whether to also add our updated payment flow for Shopify in case you turn off Shopify New Accounts, or whether you want to just add the code for Shopify New Accounts. Be aware that if you only edit your theme to add Shopify New Accounts, customers may not be able to update their payment information if you turn off Shopify New Accounts.
Option 1: Add Shopify payment updates with backup updated payment flow
In this option, you first update your theme to have Ordergroove's updated payment flow for Shopify, so that your users can still update payments if you turn off Shopify New Accounts.
Go to the Subscription Manager page in Ordergroove and find the theme you want to make the changes in. In the Theme designer, switch to the Advanced editor tab. See if the file change-billing-shopify-only.liquid exists in the "Views" folder. If that file does not exist, follow this guide to add support for Shopify-specific payment flows.
Once you have completed the guide above and added support for Shopify-specific payment flows, find the billing-shipping-details.liquid file under "Views". On line 39, between the closing </div> for og-billing-details-container and the closing </div> for og-billing, you should see something like:
{% include 'change-billing-shopify-only' %}Note: Exact line numbers may be different depending on your template version and the customizations made to your theme.
Replace the line above with the following:
{% if 'external_payment_enabled' | setting %}
  <a class="og-link og-edit-payment" href="{{ 'external_payment_url' | setting }}">{{ 'shipment_unsent_footer_billing_edit' | t }}</a>
{% elseif 'platform' | setting("shopify") == 'shopify' %}
  {% if 'shopify_customer_accounts_version' | setting === 'new_customer_accounts' %}
    {% set shop_id = 'shopify_shop_id' | setting %}
    {% set payment_url = "https://shopify.com/" + shop_id + "/account/profile" %}
    <a class="og-link og-edit-payment" href="{{ payment_url }}" target="_blank">{{ 'shipment_unsent_footer_billing_edit' | t }}</a>
  {% else %}
    {% include 'change-billing-shopify-only' %}
  {% endif %}
{% endif %}
Finally, navigate to the default-theme.less file under "Styles". At the bottom of the file, add the following block to remove the "Send Email" block from the Subscription Manager's view:
// Hide the old SM send email button
#og-send-update-email {
  display: none;
}
Save the changes to the theme. You can use the editor's preview functionality to make sure everything is working properly. When you are ready to go live, publish the theme.
Option 2: Just add code for Shopify New Accounts
In this option, you just add the code to allow users to update their payments through Shopify New Accounts. If you turn off Shopify New Accounts through Shopify, your customers will no longer be able to update their payment methods.
Go to the Subscription Manager page in Ordergroove and find the theme you want to make the changes in. In the Theme designer, switch to the Advanced editor tab, and find the billing-shipping-details.liquid file under "Views".
Find the following lines of code, which may be around line 40:
{% if 'external_payment_enabled' | setting %}
  <a class="og-link og-edit-payment" href="{{ 'external_payment_url' | setting }}">{{ 'shipment_unsent_footer_billing_edit' | t }}</a>
{% endif %}
Replace this with the following code:
{% if 'external_payment_enabled' | setting %}
  <a class="og-link og-edit-payment" href="{{ 'external_payment_url' | setting }}">{{ 'shipment_unsent_footer_billing_edit' | t }}</a>
{% elseif 'platform' | setting("shopify") == 'shopify' and 'shopify_customer_accounts_version' | setting === 'new_customer_accounts' %}
  {% set shop_id = 'shopify_shop_id' | setting %}
  {% set payment_url = "https://shopify.com/" + shop_id + "/account/profile" %}
  <a class="og-link og-edit-payment" href="{{ payment_url }}" target="_blank">{{ 'shipment_unsent_footer_billing_edit' | t }}</a>
{% endif %}
Finally, navigate to the default-theme.less file under "Styles". At the bottom of the file, add the following block to remove the "Send Email" block from the Subscription Manager's view:
// Hide the old SM send email button
#og-send-update-email {
  display: none;
}
Save the changes to the theme. You can use the editor's preview functionality to make sure everything is working properly. When you are ready to go live, publish the theme.
Updated 6 months ago